HFFS Stand-Up Pouch Machine Troubleshooting Guide
Updated: July 30, 2026

About INMAYPACK Engineering Team
INMAYPACK is a packaging machinery brand based in Shanghai, China, founded in 2009. The INMAYPACK Engineering Team publishes practical guidance on doypack, sachet, premade-pouch and coffee packaging. Machine suitability, performance and service terms depend on the confirmed model, configuration, product, package and agreed project scope.
Troubleshooting guide · Published July 25, 2026
Stop changing five settings at once. When a roll-stock HFFS line begins producing skewed pouches, incomplete opening, product-contaminated seals or drifting cut positions, random adjustment usually hides the real cause. A faster diagnosis starts by identifying which process layer first becomes unstable.
Quick answer: most HFFS stand-up pouch faults can be isolated to one of five layers: film handling, pouch forming and transport, pouch opening and filling, sealing and cooling, or controls and timing. Freeze the known-good settings, change one variable at a time, then verify the correction at normal production speed.
01Film handling
02Forming & transport
03Opening & filling
04Sealing & cooling
05Controls & timing
This guide is written for horizontal form-fill-seal pouch equipment that forms a pouch from roll stock. It is not a substitute for the machine manual, the film supplier’s sealing data or your site’s energy-control procedures.
Isolation workflow
Diagnose the first bad event, not the final reject
A leaking pouch may originate at the sealing jaws, but it may also begin earlier when the fill nozzle drips onto the seal area or when web tracking creates a wrinkle. Work upstream from the visible defect until you find the first point where a good pouch becomes bad.

- Define the defect precisely. Record where it occurs, whether it is continuous or intermittent, and whether it affects every lane, every cycle or only certain pouch positions.
- Preserve evidence. Keep the last known-good pouch, the first bad pouch and several later rejects in sequence. Mark machine direction and operator side.
- Check what changed. Compare film lot, roll width, print registration, product temperature or viscosity, fill recipe, line speed, change parts, cleaning work and maintenance activity.
- Separate material, machine and process. If permitted by the equipment manual and site procedure, compare an empty-film run with a product run. A defect present without product points away from filling contamination.
- Change one variable. Save the original value before adjusting tension, timing, temperature, pressure, dwell or cut position. Multiple simultaneous changes destroy the diagnosis.
- Verify under production conditions. A correction that works for five slow cycles may fail after the jaws reach thermal equilibrium or the machine returns to normal speed.
Safety first: stop the machine and follow the equipment manual plus your site’s lockout/tagout procedure before reaching inside guards, cleaning jaws, removing trapped film or servicing a hazardous-energy source. OSHA 29 CFR 1910.147 covers the control of hazardous energy during servicing and maintenance.
Symptom matrix
What to check first
The first check should be the simplest observation that separates two possible causes. The table below is a starting sequence, not permission to bypass the machine manual or guarding.
| Observed symptom | Likely process layer | First checks | Avoid changing first |
|---|---|---|---|
| Print registration or cut position drifts | Film handling / controls | Roll centering, web path, tension consistency, registration-mark contrast, sensor cleanliness and bag-length recipe | Do not compensate with repeated cut-offset changes before stabilizing the web |
| Pouch width or side seals are unequal | Forming / guiding | Film edge position, forming geometry, guide alignment, pull symmetry and seal-jaw parallelism | Do not raise seal temperature to correct a geometry problem |
| Bottom gusset is unstable or folded incorrectly | Forming | Gusset former position, crease consistency, film stiffness, web tension and change-part setup | Do not change filling timing until an empty pouch forms correctly |
| Pouch mouth does not open fully | Opening / transport | Vacuum level, suction-cup wear and position, air-assist timing, pouch presentation and gripper alignment | Do not increase fill speed while opening remains unstable |
| Product is trapped in the top seal | Filling / settling | Nozzle height, cutoff or anti-drip action, product trajectory, fill timing, pouch opening and settling time | Do not treat contamination as a temperature-only fault |
| Weak seal, channel leak or partial delamination | Material / sealing | Clean seal area, jaw face condition, actual jaw temperature, pressure distribution, dwell, cooling and film sealant compatibility | Do not keep adding heat without checking contamination and pressure uniformity |
| Wrinkles, scorching or seal squeeze-out | Web presentation / sealing | Film flatness at jaw entry, temperature, dwell, pressure, jaw parallelism and release-surface condition | Do not assume every wrinkle is caused by low web tension |
| Intermittent alarm with no obvious pouch defect | Controls / utilities | Alarm history, sensor state, pneumatic pressure, vacuum stability, connectors and exact cycle position | Do not repeatedly reset without recording the alarm and machine state |
Film handling
Film tracking and registration faults
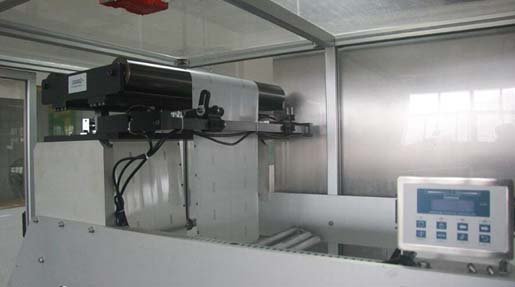
If the printed image, pouch edge and cut position all move together, stabilize the web before adjusting the downstream stations. A registration sensor can correct timing, but it cannot compensate for a roll that telescopes, an inconsistent brake, contaminated rollers or a web that enters the former at an angle.
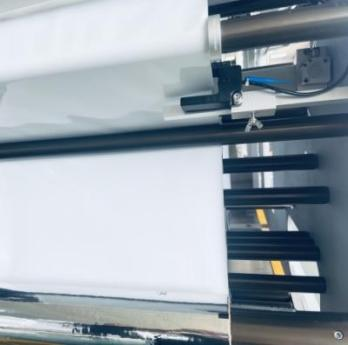

When the web walks sideways
- Confirm the roll is mounted square and centered, with no telescoping or damaged edge.
- Trace the film through every roller. Look for a roller that is dirty, damaged, not parallel or not rotating freely.
- Check that unwind tension is stable through a full roll diameter range. Excess tension can stretch film; insufficient or fluctuating tension can allow wandering and wrinkles.
- Inspect the former and guides for a recent changeover error. Do not use guide pressure to pull a badly aligned web back into position.
When the eye mark is missed or the cut drifts
- Verify that the correct print-mark recipe, bag length and sensor mode are selected.
- Clean and align the registration sensor, then confirm reliable contrast between the mark and background at production speed.
- Observe whether the cut error is constant, progressive or random. A constant offset suggests setup; progressive drift suggests length or web-feed error; random movement suggests unstable tracking, slip or sensing.
- Check web-feed surfaces and servo alarms before repeatedly changing the electronic cut offset.
Isolation clue: if registration is stable at low speed but drifts at normal speed, inspect dynamic tension, acceleration, slip and sensor response. If the error remains the same at every speed, first inspect recipe values and mechanical alignment.
Formation and transfer
Pouch shape, opening and transport faults
Before troubleshooting the filler, confirm that an empty pouch arrives at the filling point with repeatable width, gusset geometry, mouth position and support. A nozzle cannot enter a pouch that is late, skewed or only partially open.
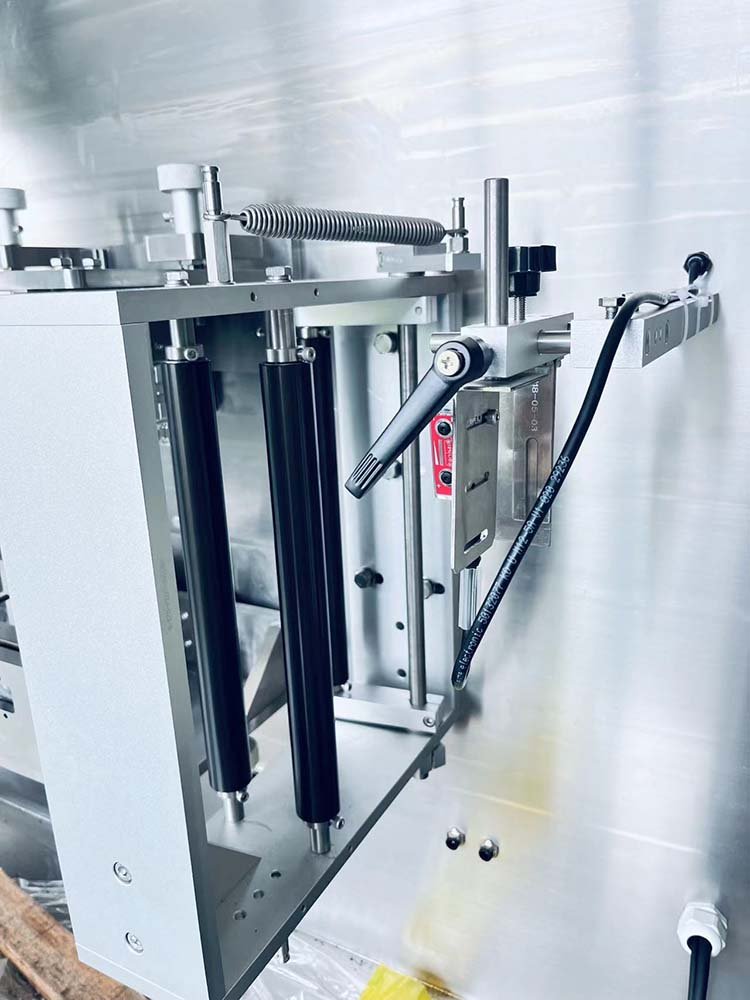

Unstable pouch formation
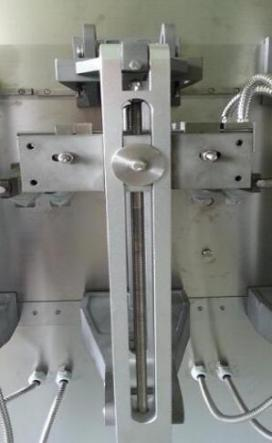
Compare the first bad pouch against a known-good sample. Mark the centerline, side-seal position, gusset depth and cut edge. If all dimensions shift together, investigate web alignment. If one feature changes while the rest remain stable, focus on its forming tool, guide, sealing station or recipe.
- Inspect the forming area for film folds, product residue, damaged contact surfaces and incorrect change parts.
- Confirm symmetrical pulling and sealing. A pouch can appear centered at one station but enter the next station under side load.
- Check that grippers support the pouch without stretching the mouth or allowing it to sag during filling.
Pouch mouth will not open
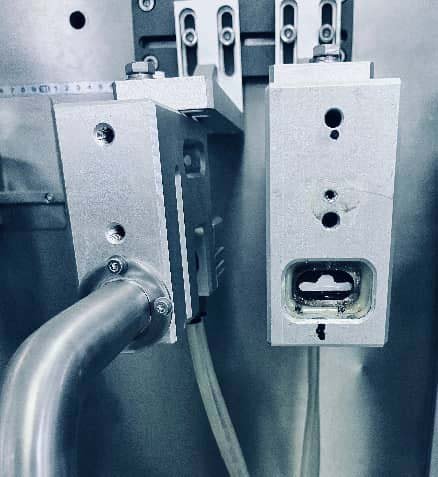
- Check vacuum supply and the condition, height and angle of each suction cup.
- Confirm the cups contact clean, flat surfaces rather than a crease, zipper or printed feature that prevents sealing.
- Observe the exact sequence: pouch arrival, vacuum on, cup movement, air assist, opening confirmation and nozzle entry.
- Compare failures by pouch position. A one-sided pattern often points to a cup, gripper or alignment issue; failures across all positions may point to film behavior, vacuum supply or timing.
Filling and seal integrity
Separate contamination from sealing-process faults
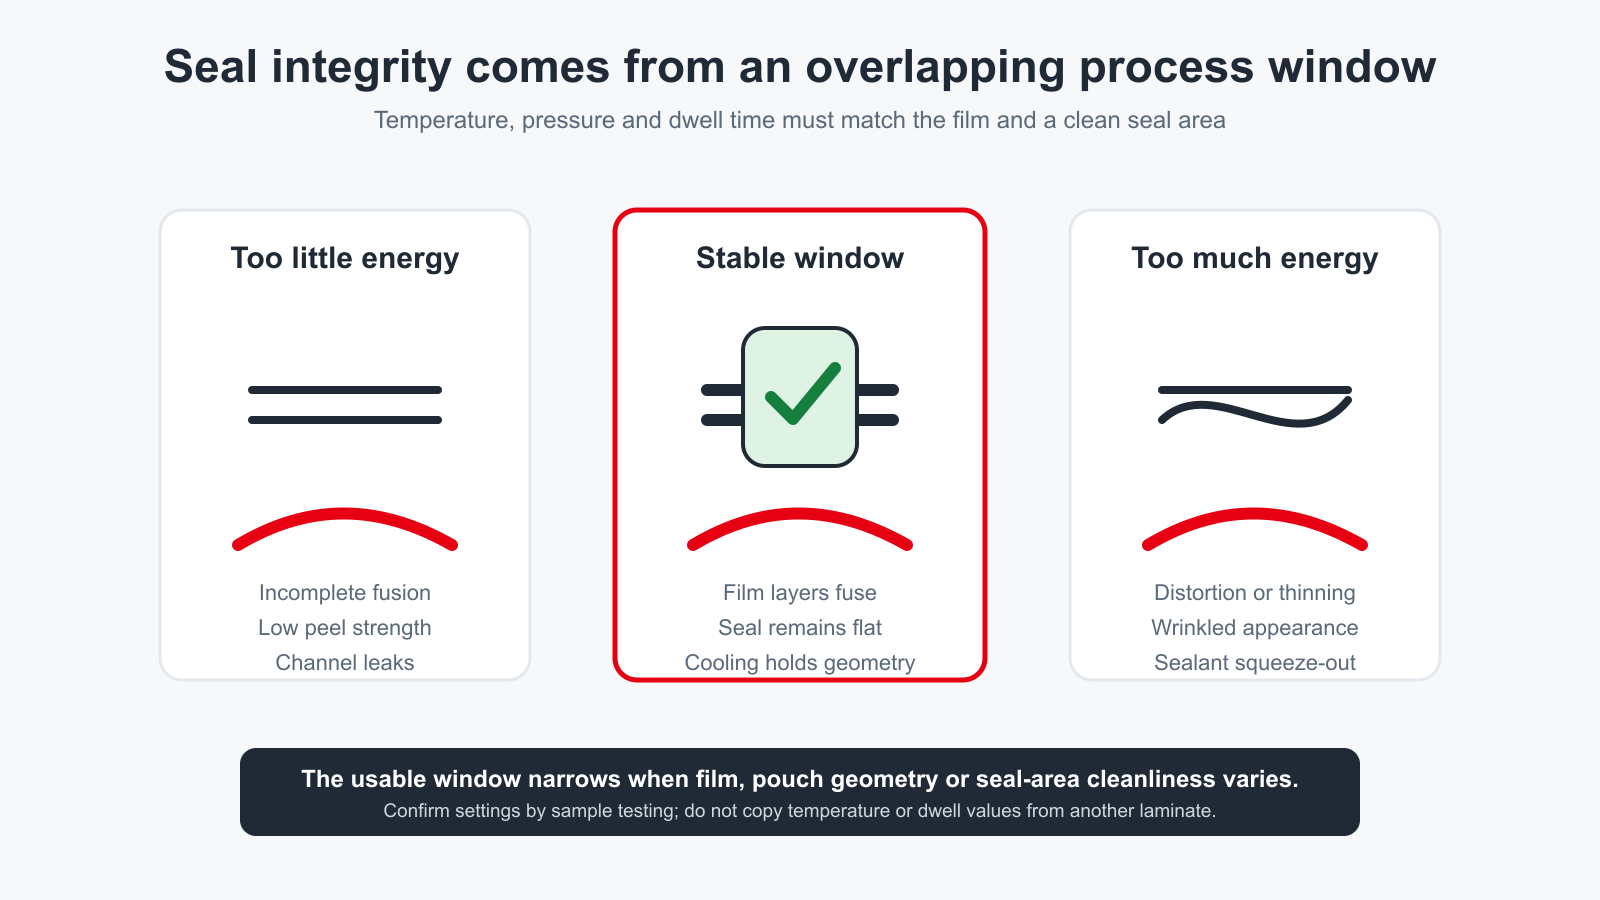
A top seal may fail because the sealant layers never received a suitable combination of heat, pressure and dwell. It may also fail because product, powder, oil, moisture or a fold blocked intimate contact. These causes require different corrections.
First confirm a clean seal area
- Watch nozzle entry, fill cutoff and withdrawal at normal speed. Check for splash, stringing, dust, dribble or product carried upward by trapped air.
- Confirm the pouch is fully open and correctly supported before filling begins.
- Review fill height and settling time. More fill mass can reduce the clean headspace available to the sealing jaws.
- For a recurring one-sided contamination pattern, inspect nozzle centering and pouch position before changing the overall fill recipe.
Then evaluate the sealing process window
| Seal observation | Checks to prioritize | Verification |
|---|---|---|
| Seal opens with little resistance | Contamination, actual jaw temperature, pressure, dwell, film sealant layer and jaw contact | Quantitative seal-strength method with a consistent specimen and test technique |
| Narrow unsealed path or channel | Wrinkle, product particle, jaw damage, fold, zipper transition and pressure distribution | Gross-leak or channel-leak method suitable for the package and product |
| Distortion, scorching or squeeze-out | Excess temperature, dwell or pressure; insufficient cooling; film presentation | Compare appearance and measured strength against an approved sample and specification |
| Good cold start, failure after warm-up | Thermal equilibrium, temperature control, jaw expansion, cooling and speed-dependent dwell | Sample after stabilization and throughout the production run |
Do not approve a seal by appearance alone
ASTM F88/F88M-23 provides a quantitative method for measuring the force required to separate a flexible-barrier seal and for reporting the failure mode. Use a consistent specimen preparation and test technique when comparing results. Acceptance limits are package-specific and should come from the validated packaging specification—not from a universal number copied from another film.
ASTM F2096-11(2019) uses internal pressurization and bubble emission to detect gross leaks, holes and channels in packaging. It is destructive, and the method, test pressure and package suitability must be defined before using it for release decisions.
Record the context: film structure and lot, pouch dimensions, product condition, speed, temperature setpoint and actual value, pressure, dwell, cooling condition, sample location and observed failure mode. A pass/fail result without process context is difficult to troubleshoot later.
Verification and prevention
Prove the correction before releasing the line
A machine that produces several acceptable pouches at jog speed is not yet stable. Verification should reproduce the conditions that created the original defect and show that the corrected process stays inside the approved window.
- Restore the machine safely. Remove tools and loose material, reinstall guards, restore utilities and complete the site’s restart authorization.
- Run a controlled start. Observe the corrected station through the speed ramp without changing unrelated settings.
- Reach normal speed and thermal condition. Allow the process to stabilize, especially after seal-temperature, cooling or film changes.
- Sample across time. Check consecutive pouches at startup and additional samples after stabilization, roll splice, refill or changeover according to the approved quality plan.
- Challenge the original failure mode. Use the same inspection or test that detected the problem, not a weaker visual substitute.
- Document the cause and correction. Record the original setting, final setting, replaced part, material lot and verification result so the next shift does not repeat the diagnosis.
A short shift-start checklist
Web and forming
- Roll condition and centering
- Clean, free-running rollers
- Correct film path and recipe
- Former and guide condition
Opening and transfer
- Vacuum and air stability
- Suction-cup wear and position
- Gripper alignment
- Opening confirmation sequence
Filling
- Nozzle position and cutoff
- Clean seal headspace
- Correct product recipe
- No leak, stringing or splash
Sealing and controls
- Clean jaw faces
- Actual temperatures stable
- Alarm history reviewed
- Approved sample retained
Build preventive-maintenance frequency from observed wear, supplier instructions and production history. A fixed checklist is useful, but the interval for suction cups, release surfaces, cutters, bearings or seals should reflect the actual film, product, cleaning regime and duty cycle. Use the pouch packing machine preventive maintenance guide to convert those observations into tasks, intervals, records and restart checks. When correction requires a replacement part, confirm its identity, substitution status and recovery test with the machine-specific spare-parts guide.
Machine and application review
When the fault is really a process mismatch
Repeated adjustment cannot correct a film, pouch geometry, filler or line-speed combination that has not been matched as a system. If the fault appears only with a particular product, film structure, pouch size or production rate, review the complete application rather than one station in isolation.
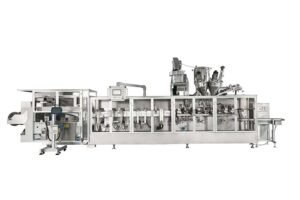
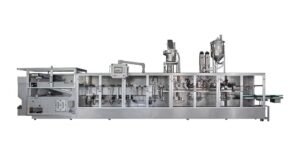
INMAYPACK’s HMK2000 stand-up pouch packing machine is a roll-stock HFFS platform for standard stand-up pouches, zipper doypacks and flat bags. The product page explains its pouch range, filling arrangement and application boundaries.
HFFS vs. premade pouch machine: choose the correct platform
How to choose a stand-up pouch packing machine
Shaped vs. bottle-shaped doypack machine requirements
Send the evidence before changing more settings
Share the pouch dimensions, film structure, product, target speed, alarm screenshot, photos of good and bad samples, and a short video showing the station where the defect first appears. We can use that information to review the application and identify what still needs to be confirmed.
Technical references
ASTM International, ASTM F88/F88M-23: Standard Test Method for Seal Strength of Flexible Barrier Materials.
ASTM International, ASTM F2096-11(2019): Standard Test Method for Detecting Gross Leaks in Packaging by Internal Pressurization.
U.S. Occupational Safety and Health Administration, 29 CFR 1910.147—The control of hazardous energy.
INMAYPACK Engineering Team
Shanghai · Flexible Packaging Machinery
Need a Technical Opinion?
Tell us your product, material and target speed — our engineers will recommend the exact machine configuration for your line.
✓ Reply after reviewing your requirements
✓ international markets served
✓ Configuration-specific compliance documentation
Chat on WhatsAppGet a Free Quote☎ +86 18658799162✉ sales@ewpackmachinery.com
You Might Also Find Helpful

Spout Pouch Filling Machine Price and Quote Comparison
Compare spout pouch filling machine price by pouch supply, dosing, cap handling, cleaning scope and FAT. Build a comparable fillingRead more
Auger Filler vs Weigh Filler for Powder Packaging
Compare auger and weigh fillers by powder flow, bulk density, dust, dose, refill behavior and acceptance testing before choosing aRead more
Modified Atmosphere Packaging Machine Guide for Pouches
Specify a modified atmosphere packaging machine by food risk, gas recipe, film barrier, seal integrity, residual oxygen checks and FATRead more
How to Choose a Coffee Capsule Filling Machine
Compare CF30, CF80, CF140 and CF240 coffee capsule filling machine routes by capsule, lid, dose, accepted output, tooling and FATRead more
VFFS Film Specification Guide
Define VFFS rollstock by bag geometry, web width, repeat, winding, COF, seal window, roll build and machine-trial acceptance.Read more
End-Load vs Vertical Cartoning Machine: Selection Guide
Compare end-load horizontal and vertical cartoning machines by product infeed, loading direction, carton format, line integration and FAT evidence.Read more
Liquid Form Fill Seal Machine Guide: Sachet, Doypack or Premade Pouch?
Compare liquid sachet, roll-film doypack and premade pouch routes by product flow, dosing, film, sealing, cleaning, RFQ inputs and FATRead morePowder Sachet Manufacturing Process: Equipment and Quality Guide
Follow powder sachet manufacturing from product definition and auger dosing through film forming, dust control, sealing, inspection and FAT.Read more